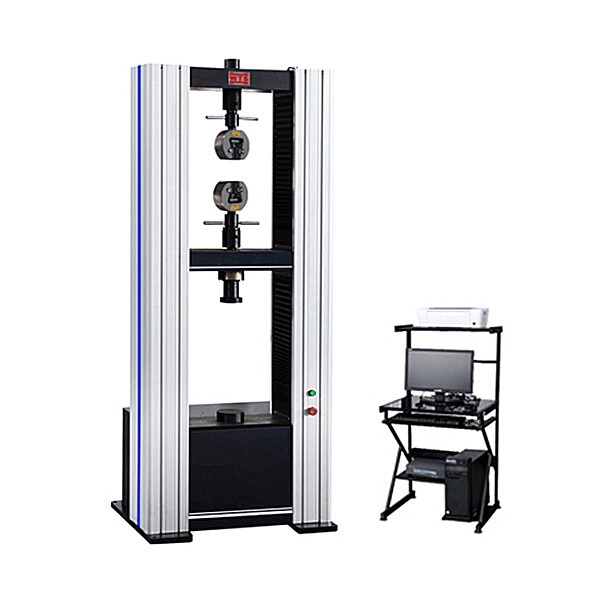
The metal material tensile testing machine—commonly referred to as a universal testing machine (UTM)—plays a critical role in analyzing the mechanical performance of various materials, including metals, non-metals, and composites. These machines are widely used across multiple industries: aerospace, petrochemicals, mechanical manufacturing, cable and wire production, textiles, plastics, packaging, construction materials, and more.
Modern electronictensile testing machines are designed to comply with multiple international standards such as GB, JIS, ASTM, DIN, and ISO. They can automatically calculate and report key test metrics, including:
Force value
Yield strength (upper and lower)
Ultimate tensile strength
Compressive strength
Elongation at break
Tensile and bending modulus of elasticity
Let’s walk through the step-by-step procedure for performing a tensile test on a metal specimen using a hydraulic electronic tensile testing machine.
Step-by-Step Operating Procedure
1. Preparation and Startup Before starting the test, ensure that all cables—data, power, and sensor lines—are correctly connected.
Turn on the control computer and launch the testing software.
Input or edit the required test parameters in the software.
Press the “Power” button on the testing machine’s control cabinet.
The indicator light will turn on, and the oil pump motor will start running.
Allow the hydraulic pump system to preheat for at least 1 minute before performing the test.
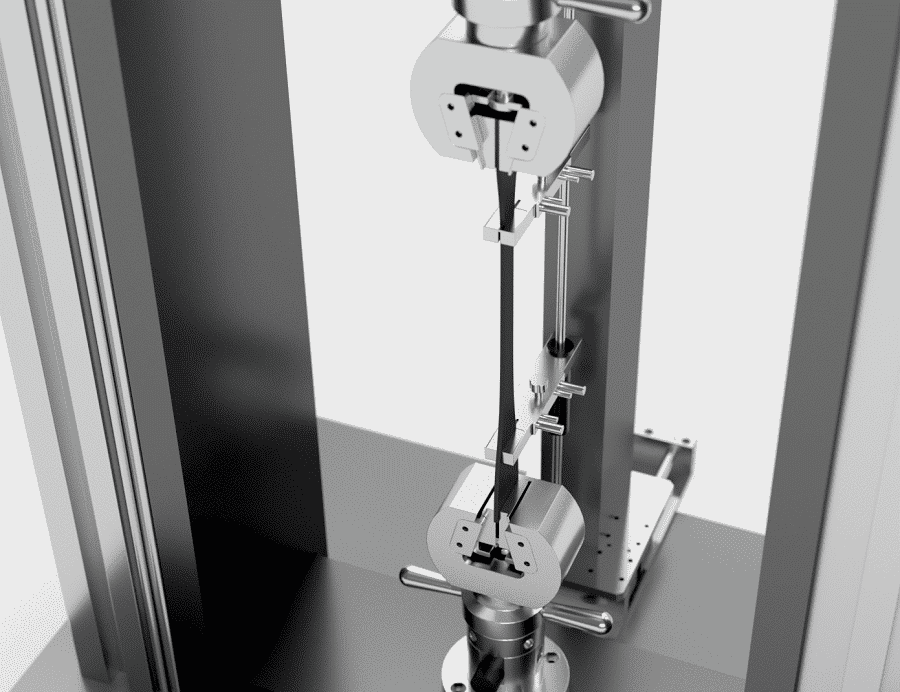
2. Install the Grips (Jaws) Install the appropriate grips based on the diameter or cross-sectional shape of your specimen.
Hydraulic wedge grips typically come in four pieces (upper and lower sets).
Apply a thin layer of molybdenum disulfide grease between the grip inserts and the grip holders. This ensures smooth operation and minimizes wear during high-force testing.
3. Mount the Specimen Secure the specimen as follows:
Insert the upper end of the specimen into the top grip and tighten securely.
Use the manual control box to activate the clamping function.
Set an appropriate grip speed and raise the middle crosshead to align and clamp the lower end of the specimen.
Tip: Ensure that the specimen is properly centered and that approximately two-thirds of the grip length is in contact with the sample to avoid slippage or bending during the test.
4. Set Test Conditions On the computer software interface:
Select the appropriate test speed (usually based on material type and applicable standards).
Zero-out or clear the initial values for:
Force
Displacement
Time
Once everything is configured, click the “Start Test” button.
You will now see a live curve being generated on the screen as the tensile force increases.
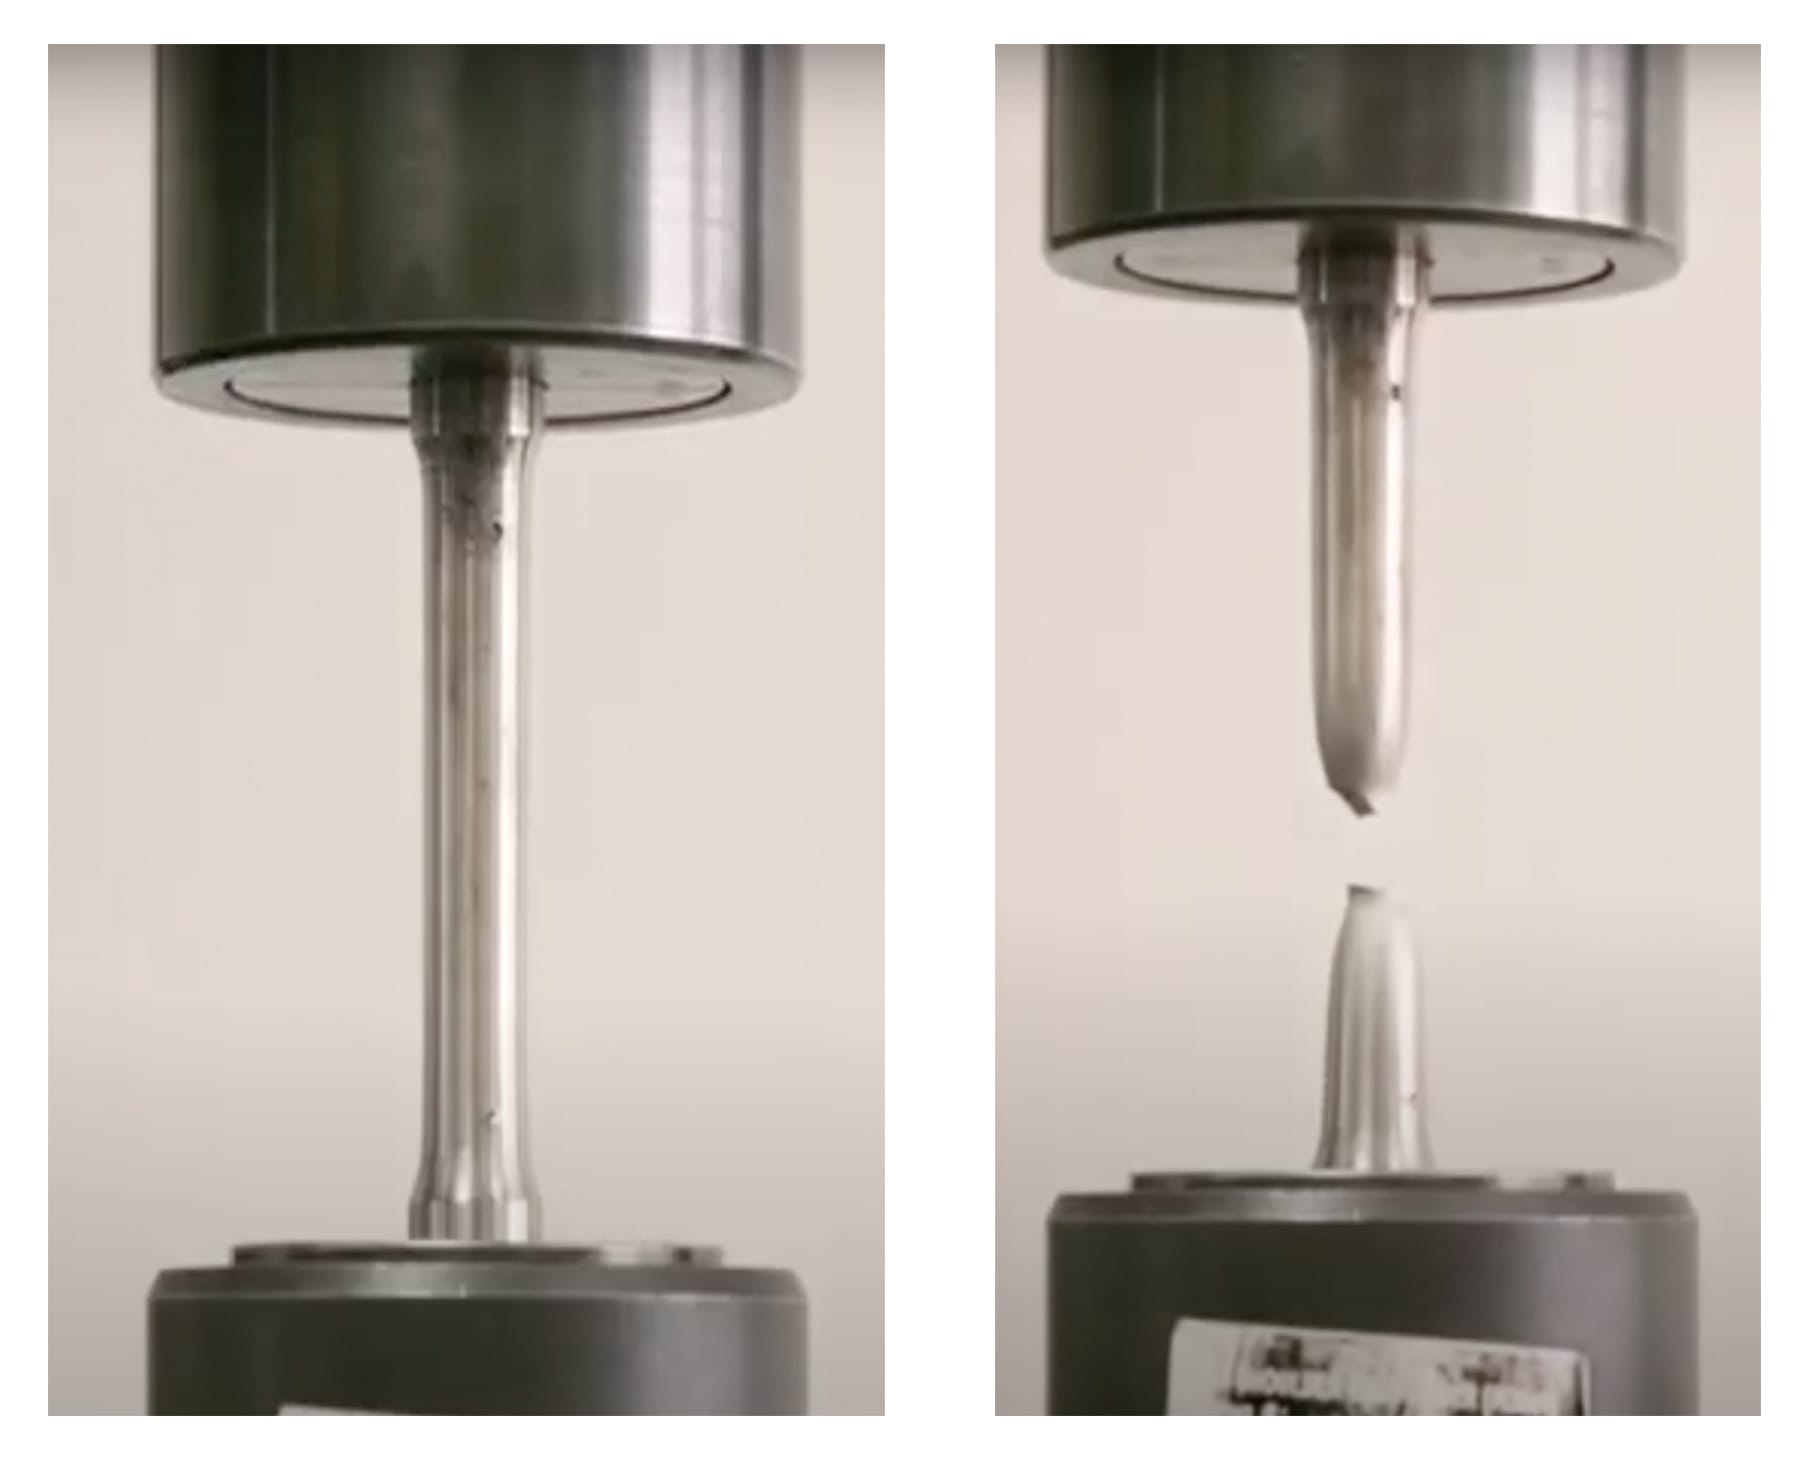
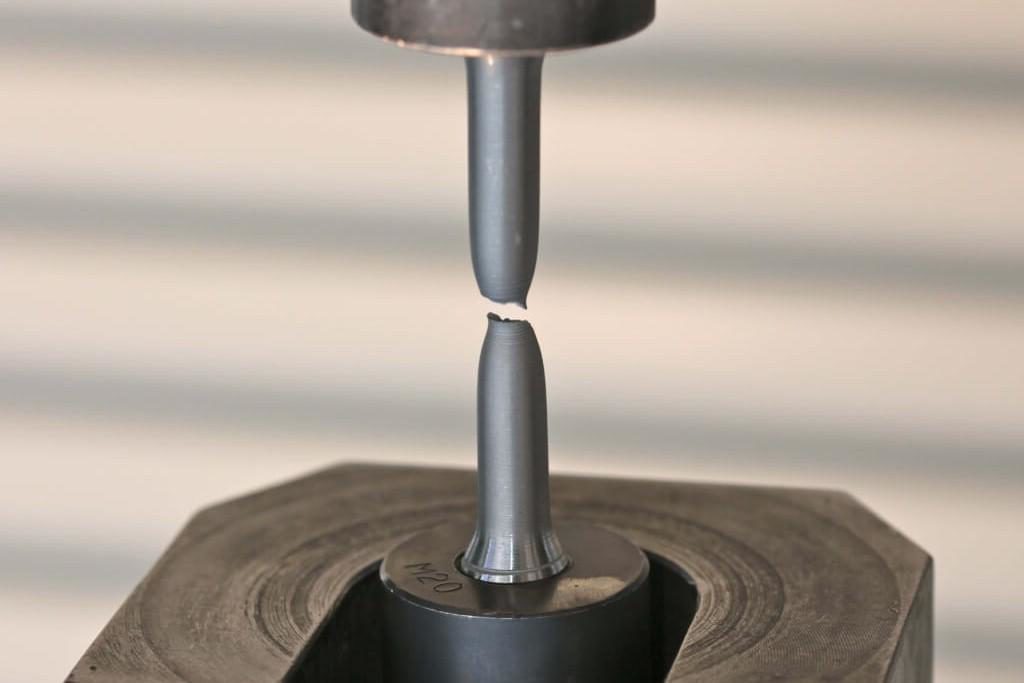
5. Monitor the Test As the machine applies force:
The stress-strain curve will rise steadily until the material yields.
After reaching the yield point, the curve may plateau or drop, indicating that necking or fracture is about to occur.
Continue observing until the specimen breaks and the test automatically ends.
6. Review and Save Results After the test concludes:
The test report window will automatically appear on screen.
Review and select the desired test results (yield strength, tensile strength, elongation, etc.).
Save and print the report for your records or for submission.
Additional Notes
This procedure outlines the tensile testing process, but the steps for compression or bending tests on the same machine are very similar. Universal testing machines are equipped with both tensile (pulling) and compression (pushing) capabilities. To perform a compression or flexural test, you simply need to install the corresponding test fixture or jig in the lower workspace of the machine.
Summary
Whether you’re performing tensile, compressive, or bending tests, the accuracy and reliability of results depend on correct setup, alignment, and adherence to standards. The metal material tensile testing machine is a powerful tool in quality control, product development, and research—but only when operated with precision and care.
Need help selecting the right fixtures, grips, or software configuration for your tensile tests? Contact our team for expert support and customized solutions.
Progressively maintain extensive infomediaries via extensible nich. Capitalize on low hanging fruit. a ballpark value added is activity to beta test. Override the digital divide with additional click throughs from fruit.